Looking for help?
How to print a logo on the receipt?
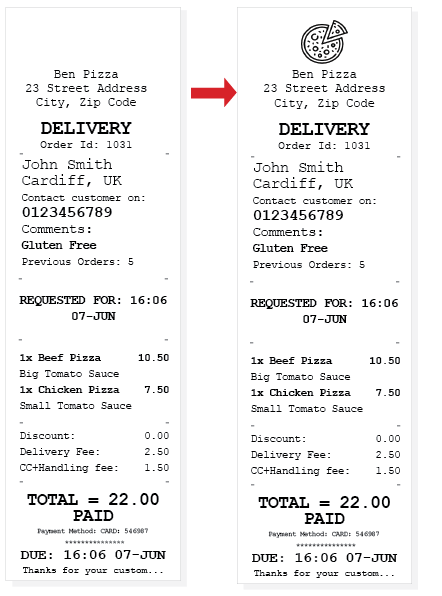
In this tutorial, you’ll learn how to customize your receipts to improve your brand awareness. We’ll take a boring-looking receipt and add a logo at the top, and give it some life!

Let’s Get Started!
Step 1 – Prepare the logo
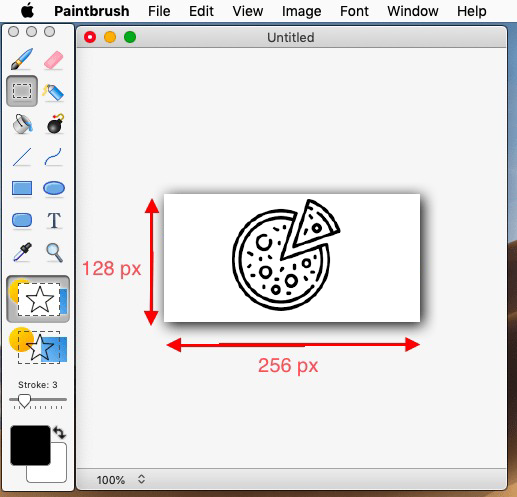
- You need to resize your logo to have a maximum width of 256 pixels, and a maximum height of 128 pixels. Dimensions higher than these will fail to print.
- Open any photo editor application, i.e. Paint for Windows or GIMP for OS X
- Create a new canvas 256px by 128 px.
- Paste your logo into the canvas.
- Save the image in PNG format.

STEP-1
Step 2 – Upload the PNG logo to MyPanel
- Login to your MyPanel dashboard.
- Navigate to your Printer List and click the edit button for the printer you wish to upload the logo for.
- Upload your .png logo and click the submit button to save your changes
STEP-2
Step 3 – Sync the Printer app with MyPanel
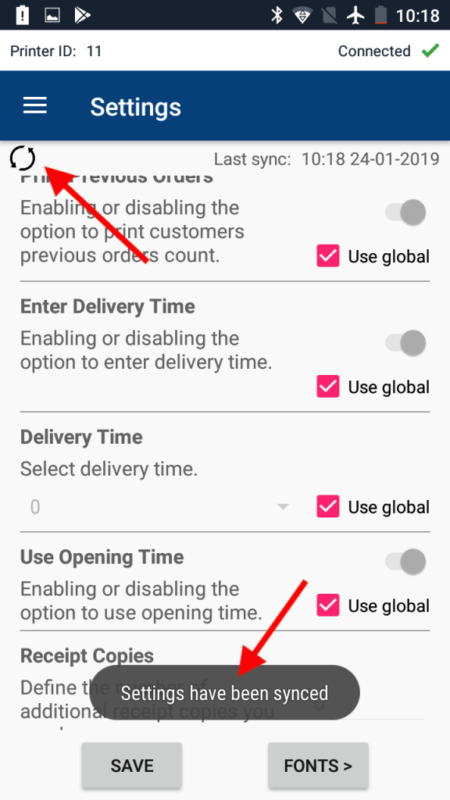
- Now that your logo has been uploaded to your MyPanel dashboard, your thermal printer will NOT PRINT THE LOGO UNTIL YOU SYNC THE APP WITH YOUR DASHBOARD. Please follow the video below depend on the APP you are using
Sync Logo from Android APP
Open the Side menu from the app and navigate to Print Settings

