


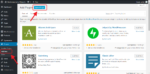
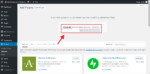


This woocommerce thermal printer plugin extends on top of the features provided by the official WooCommerce plugin. It enables your WooCommerce web store with cloud printing capabilities via a PrinterCo mini POS printer.
It is the ideal solution for businesses that need their online orders printed out on demand! Our plugin enables you to print different orders like delivery, Collection, Dine-in and Reservation. We’ve recently worked on a cool feature. Using the WooCommerce core API, any paid orders rejected using our printers can now be automatically refunded.
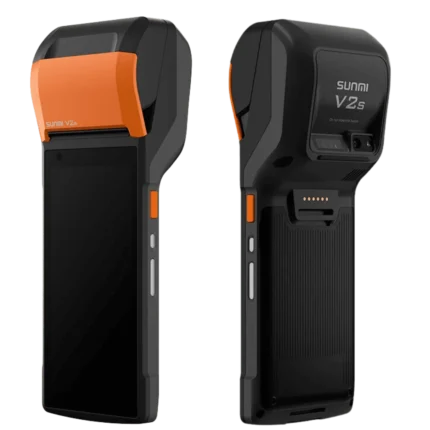
List of printers that are Compatible with the Plugin:
- Sunmi V2
- Sunmi V2 pro
- PrinterCo H8
- TPS900
What included?
You need to purchase a WooCommerce licence for each site that you want to use with our printer.
Each licence is for a lifetime and covers:
- Plugin Support
- Plugin Updates
- New Printer Features
FAQs
Q: Is the plugin free?
Ans: You can download it free of cost from the WordPress marketplace and test it with our SANDBOX account free of cost. You need to buy a license for each website when you go live.
Q: Do I need a printer to use this plugin?
Ans: Yes, the purpose of this plugin is to send your WooCommerce orders to a handheld POS printer.
Q: Can I use My Printer with this plugin?
Ans: Yes, Our PrinterCo app is currently compatible with the Sunmi V2, Sunmi V2 pro, Printerco H8 and TPS900 POS printer. However, if having your device is important for your business then we can definitely help you. We can make your device compatible with our system which will cost you only £245! Lead development time will be around 1 week.
Q: I have my own POS printer already, Can I use that instead of yours?
Ans: Yes, Our PrinterCo app is currently compatible with the Sunmi V2, Sunmi V2 pro, Printerco H8 and TPS900 POS printer. So, if you have a compatible printer then you can register it with our system by paying a registration fee of £29. After successful registration, you will be able to use your own printer with our plugin.
Q: Will this plugin allow me to accept or Reject an order?
Ans: Yes, you will be able to accept or decline an order from the printer.
Q: Will I be able to print the order without pressing any button?
Ans: Yes, you can set automatic printing and the order will be printed out without any interaction.


Reviews
There are no reviews yet.